Active-Directory-Management-and-Group-Policy-in-Active-Directory
Active Directory Management | Group Policy

This project demonstrates the management of Active Directory (AD) for user account creation, permission management, and the structuring of Organizational Units (OUs).
Skills Covered:
- Creating and managing user accounts in AD
- Structuring Organizational Units for better management
- Modifying user permissions and group memberships
- Implementing group policies to enforce security policies
Key Tasks:
- Create a new user account in Active Directory.
- Set up Organizational Units (OUs) to organize users.
- Assign user permissions and group memberships for resource access.
- Modify group policies to implement company-wide policies.
Resources:
Microsoft Active Directory (AD) Overview
Microsoft Active Directory (AD) is a directory service designed to simplify network management for organizations. Operating on Windows Server, AD efficiently stores and organizes information about network components, including users, devices, and services. It provides convenient access to this information for both administrators and users. Furthermore, AD allows administrators to regulate permissions, manage access to network resources, and create security policies, optimizing overall network management. —
Technologies Used
- Microsoft Azure
- Remote Desktop
- Active Directory Domain
- PowerShell
Operating Systems Used
- Windows 10
- Windows Server
Steps for Setting up in Azure
Step 1: Virtual Machines Setup
In this step, the virtual machines must sit in the same **resource group** and the same **virtual network** to be connected. The virtual network can be created separately. The **Domain Controller** will have **Windows Server 2022** as the client computer will be **Windows 10**. Windows Server 2022 has access to the **Server Manager**, which will be used later in the steps.
Step 2: Network Configuration
In this demonstration, the NIC in the domain controller needs to be set to static. The **DNS** of the client VM should be configured to match the Domain Controller’s DNS. To check connectivity, turn off the firewall in the domain controller. In the client’s computer, open PowerShell and type ipconfig /all. Here, the DNS should show the Domain Controller IP address.
Configuration Steps

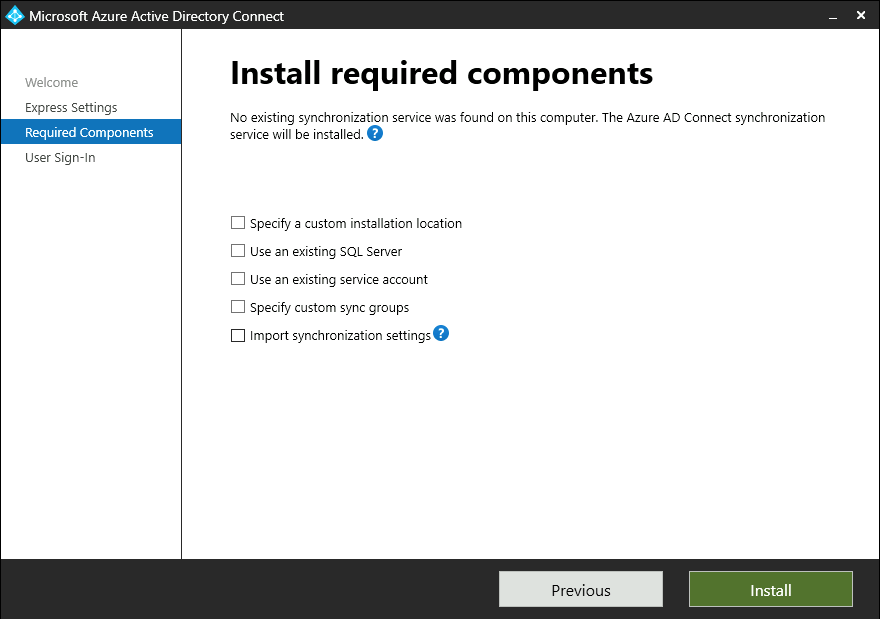
Step 1: Install Active Directory Domain Services
In the **Domain Controller**, download the **Active Directory Domain Services** role, set up a new forest with the domain name (it can be the company or department name). Restart the system and log back in with the domain name.
Step 2: Create Organizational Units (OUs)
Create **Domain Admin users** by creating new **Organizational Units (OUs)**. For this tutorial, use the names _EMPLOYEES and _ADMIN. New employees will have their names and permissions listed under these OUs. Log out and log back in as the new employee to verify access.
Step 3: Add Client VM to Domain
Add the **Client-1 Virtual Machine** into the domain. After restarting, the client-1 should appear in the **Active Directory Users and Computers (ADUC)**. Drag the account to _CLIENTS. Under **_CLIENTS**, users will have non-admin permissions. Log into **Client-1** as an admin (e.g., mydomain.com/alice_admin).
Learn More About Active Directory
For more in-depth information on Active Directory and its management, visit the official Microsoft documentation or explore additional resources on related topics:
Note: The steps mentioned above are essential for setting up and managing Active Directory within an organization. With these steps, you’ll be able to control network resources, manage users and permissions, and secure access to your company’s data.

Group Policy in Active Directory
Overview
Group Policy in Active Directory is a centralized management tool used to control the working environment of user accounts and computers. Administrators rely on Group Policy Objects (GPOs) to set policies, such as security settings and software installations, across an entire organization. These GPOs are linked to Active Directory containers, such as sites, domains, or organizational units (OUs), and automatically apply their settings to all users or computers within those containers. This functionality simplifies network management by ensuring consistent configurations and enhances security across the enterprise.
Technologies Used
- Microsoft Azure
- Remote Desktop
- Active Directory Domain
Operating Systems
- Windows 10
- Windows Server
Configuration and Management
Accessing Group Policy
To configure Group Policy settings, follow these steps:
-
Open Group Policy Management Console (GPMC):
On domain controllers, navigate to the Start menu and open the Group Policy Management Console (GPMC).- Right-click on the desired Group Policy Object (GPO) and select Edit.
-
Finding and Configuring the Account Lockout Policy:
In the Group Policy Management Editor, navigate to:
This is where you can configure account lockout policies, such as lockout duration and thresholds.
Disabling and Enabling Accounts
- To disable an account:
- In Active Directory, right-click on the employee account and select Disable.
- To enable an account:
- Right-click on the disabled account and select Enable if necessary.
Resetting User Passwords
- To reset a user’s password:
- Right-click on the employee’s account and select Reset Password. This will allow you to set a new password for the user.
Key Benefits of Group Policy
- Centralized Management: Easily manage security policies, software installations, and more across the entire network.
- Consistency: Ensures uniform configurations for all systems within the domain.
- Security: Implement security settings and manage user permissions effectively.
- Efficiency: Streamlines IT operations by automating routine administrative tasks.
This project demonstrates how Group Policy in Active Directory is an essential tool for IT administrators to enforce policies and maintain consistent configurations in an enterprise environment.
